 Save
Save Last October, my kitchen smelled like an actual maple syrup factory for three solid days. My roommate kept wandering in, asking if I was making pancakes again, but I was on a mission to perfect these donut bars. Something about that warm maple scent just makes everything feel cozy and right with the world.
I brought a batch to my moms book club and suddenly became the designated dessert person for every gathering. The best part was watching my usually health-conscious aunt sneak a second bar while pretending to help clean up. These things have this way of disappearing before anyone even thinks about calories.
Ingredients
- 2 cups all-purpose flour: Provides the structure for that cake-like donut texture we're after
- 1 cup granulated sugar: Sweetens the batter while keeping the bars tender
- 1 tablespoon baking powder: Gives you that fluffy lift without making them taste chemically
- 1/2 teaspoon salt: Balances all that maple sweetness so nothing feels cloying
- 1/2 teaspoon ground cinnamon: Adds warmth that pairs beautifully with maple
- 1/4 teaspoon ground nutmeg: Just enough spice to make people wonder what your secret ingredient is
- 1/2 cup unsalted butter, melted: Creates richness and helps keep bars moist for days
- 1 cup whole milk: The fat content really matters here for texture
- 2 large eggs: Room temperature eggs incorporate so much better into the batter
- 1 teaspoon vanilla extract: Pure vanilla, not imitation, makes a noticeable difference
- 1/2 cup maple syrup: The real stuff inside the batter for layers of flavor
- 1 cup powdered sugar: Creates that classic donut glaze consistency
- 1 to 2 tablespoons milk: Start with one and add more slowly until it pours easily
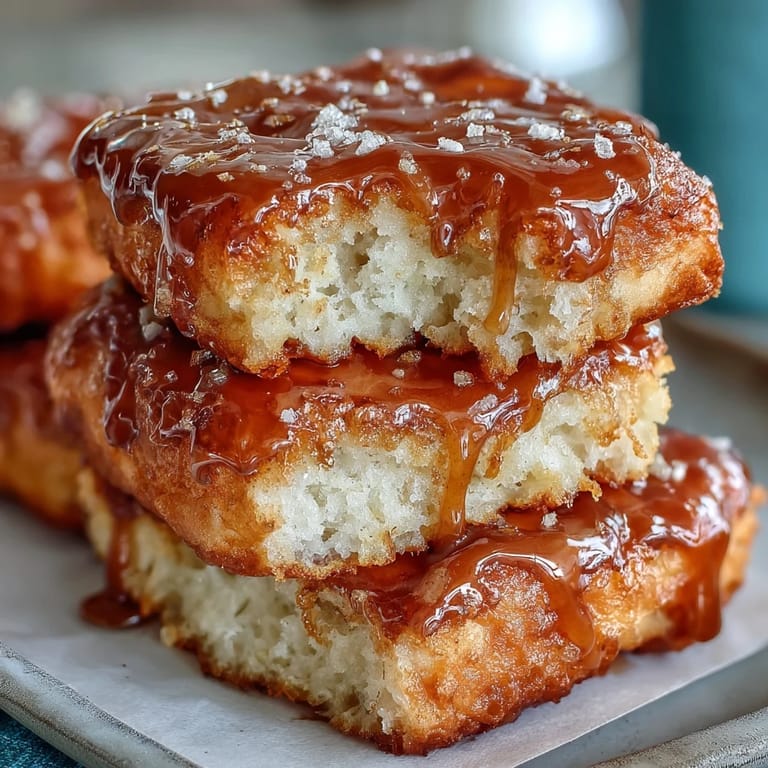
- 2 tablespoons maple syrup: Gives the glaze that gorgeous amber color and authentic taste
Tired of Takeout? 🥡
Get 10 meals you can make faster than delivery arrives. Seriously.
One email. No spam. Unsubscribe anytime.
Instructions
- Get your oven ready:
- Preheat to 350°F and grab a 9x13 inch pan. Either grease it well with butter or line it with parchment paper that overhangs the edges for easy lifting later.
- Whisk the dry team:
- In a large bowl, combine flour, sugar, baking powder, salt, cinnamon, and nutmeg until everything is evenly distributed and no clumps remain.
- Mix the wet ingredients:
- In a separate bowl, whisk melted butter, milk, eggs, vanilla, and maple syrup until smooth. Take your time here to really emulsify everything.
- Bring them together:
- Pour the wet mixture into the dry and fold gently with a spatula. Stop as soon as you no longer see dry flour streaks.
- Spread and bake:
- Evenly spread the thick batter into your prepared pan. Bake for 25 to 30 minutes until a toothpick comes out clean and edges are turning golden.
- Cool completely:
- Let the bars rest in the pan for 10 minutes, then move them to a wire rack. This step is tempting to skip, but the glaze will slide right off warm bars.
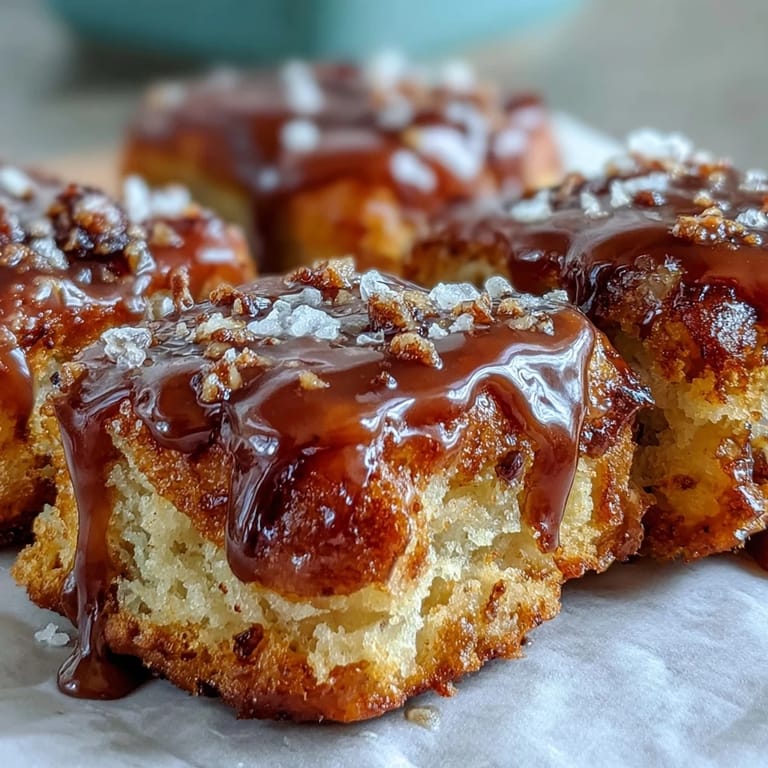
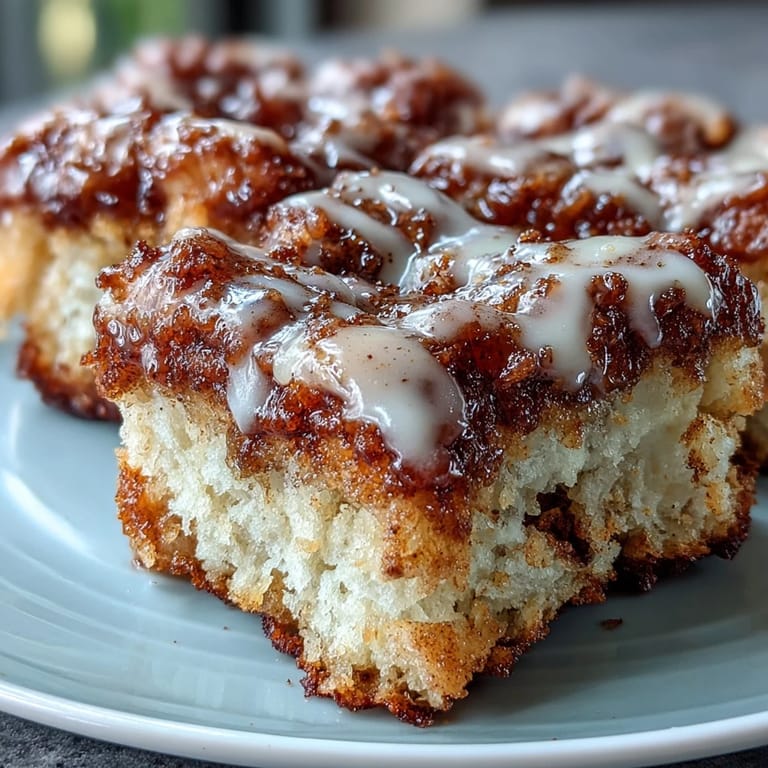
- Make the magic glaze:
- Whisk powdered sugar with 1 tablespoon milk until smooth. Add more milk a teaspoon at a time until it flows like honey, then stir in the maple syrup.
- Glaze and slice:
- Drizzle the glaze evenly over completely cooled bars. Let it set for 10 to 15 minutes before cutting into squares.
 Save
Save My nephew declared these better than the donut shop after school one day, and honestly, he might be right. Watching him lick maple glaze off his fingers with that completely unselfconscious joy kids have made me realize some recipes are just about happiness, plain and simple.
Making Them Ahead
I bake these the night before morning events all the time. They actually taste better after sitting overnight because the flavors meld together beautifully. Just store them in an airtight container once the glaze is completely set.
Glaze Variations
Sometimes I add a teaspoon of maple extract to kick up the flavor even more. A pinch of cinnamon in the glaze creates this beautiful spiced maple situation that feels extra fancy. You can also swap half the powdered sugar for brown sugar in the glaze for deeper caramel notes.
Storage Secrets
These stay fresh at room temperature for three days, but I have definitely eaten them on day four with zero complaints. Place parchment paper between layers if you stack them so the glaze does not stick to the bars above.
- Freeze unglazed bars for up to two months and glaze after thawing
- A quick 10-second zap in the microwave makes them taste freshly baked
- The glaze firms up beautifully, making these perfect for packing in lunchboxes
 Save
Save These bars have become my go-to for whenever I need to show up with something that feels special but does not require me to be a pastry chef.
Recipe FAQs
- → Can I make these ahead of time?
Yes, bake and glaze up to 2 days in advance. Store in an airtight container and glaze may soften slightly but remains delicious.
- → Can I freeze these bars?
Freeze unglazed bars for up to 3 months. Thaw overnight at room temperature, then add fresh glaze before serving.
- → What if I don't have maple syrup?
Substitute with honey or pancake syrup for similar sweetness. Pure maple extract can enhance flavor if using alternative sweeteners.
- → Why did my bars turn out dense?
Overmixing the batter can create dense texture. Fold wet and dry ingredients together just until combined—some lumps are normal.
- → Can I make these gluten-free?
Use a 1-to-1 gluten-free flour blend designed for baking. Results may vary slightly in texture but still enjoyable.