 Save
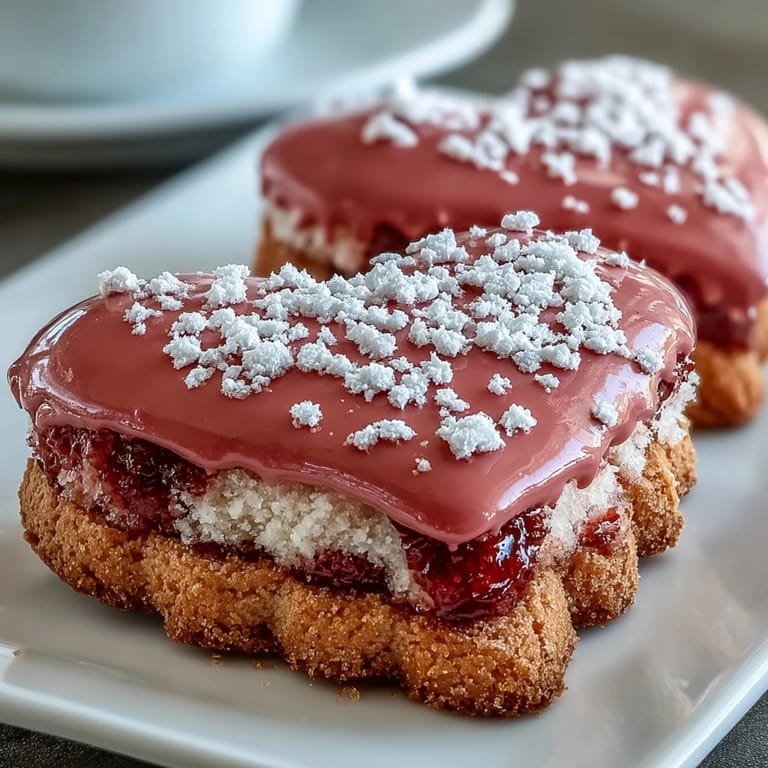
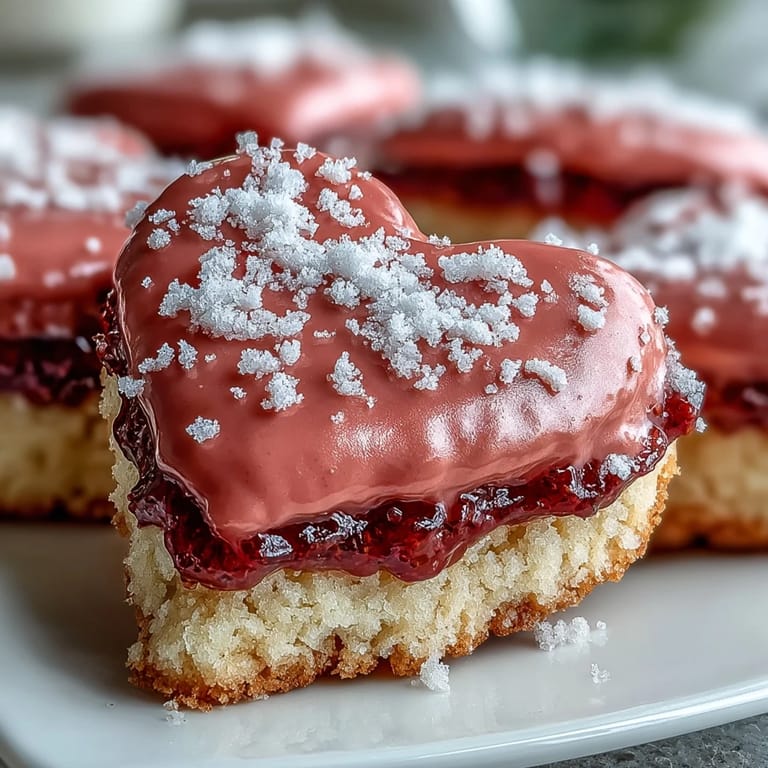
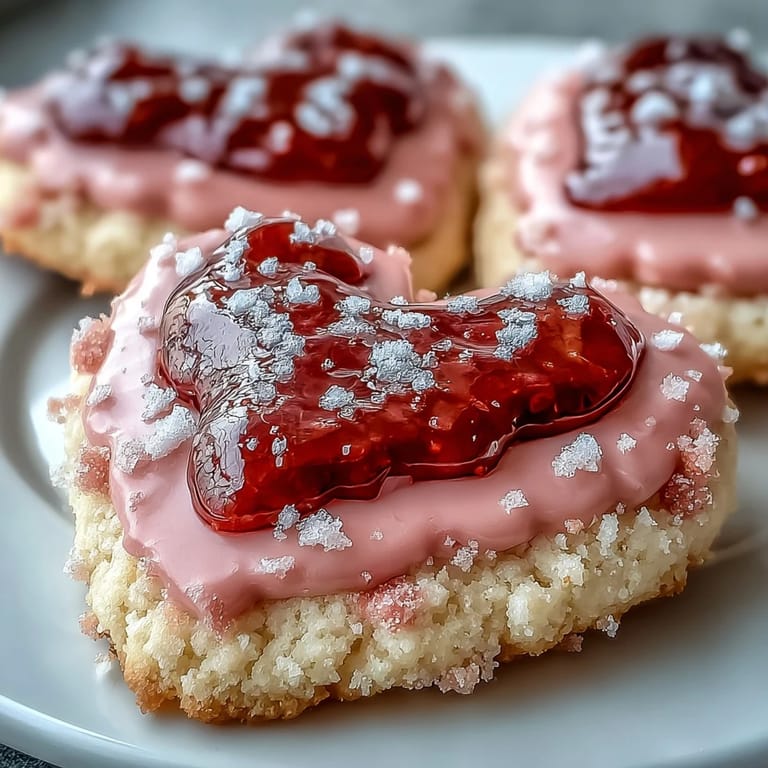
Save Last February, my kitchen smelled like strawberries and butter while snow fell outside, and I realized I'd been staring at a blank Valentine's card for twenty minutes. Something about making these cookies—pressing cookie cutters into soft dough, watching the oven light turn them golden—felt like the right way to say what I couldn't quite write down. The freeze-dried strawberries give them this delicate pink speckle, and when you bite into one, there's this subtle tartness that plays so perfectly against the vanilla sweetness.
My neighbor knocked on the door just as I'd finished decorating two dozen hearts in pale pink and deep red. She came in for "just one" and ended up staying for coffee, critiquing my piping technique and telling me about her own Valentine's disaster from 1987. We laughed so hard we nearly knocked over the royal icing, and somehow that moment—messy, unplanned, genuine—mattered so much more than the cookies themselves, though she did take a box home.
Ingredients
- All-purpose flour (2 ½ cups): This is your foundation, and measuring by weight (315 g) instead of volume keeps your cookies consistent from batch to batch—I learned this the hard way.
- Baking powder (½ tsp): Just enough to give these cookies a tender crumb without making them cake-like; too much and they'll spread too thin.
- Salt (¼ tsp): The secret weapon that makes the strawberry flavor pop and balances the sweetness beautifully.
- Unsalted butter (¾ cup): Softening it to room temperature is non-negotiable—if it's too cold, you'll be creaming forever; if it's too warm, your cookies won't hold their shape.
- Granulated sugar (1 cup): This is what gives you that tender, melt-in-your-mouth texture when creamed properly with the butter.
- Egg (1 large, room temperature): Room temperature means it incorporates smoothly and keeps the dough from becoming grainy.
- Pure vanilla extract (1 tsp): Don't skip the "pure"—it makes a genuine difference in flavor.
- Almond extract (½ tsp, optional): This deepens the strawberry notes in a way that feels almost sophisticated; I always include it.
- Freeze-dried strawberries (¼ cup, finely ground): The magic ingredient that gives you authentic strawberry flavor without adding moisture; grinding them fine ensures they distribute evenly.
- Milk (1–2 tbsp, as needed): Use this sparingly to bring the dough together if it seems dry, but resist the urge to add too much.
- Powdered sugar for icing (3 cups, sifted): Sifting removes lumps and gives you a smooth, glossy finish on your icing.
- Egg whites (2 large, or meringue powder alternative): Meringue powder is safer and works beautifully if you're concerned about raw eggs.
- Lemon juice (½ tsp): This brightens the icing and prevents it from tasting flat.
- Vanilla extract for icing (½ tsp): A small amount here ensures the icing complements rather than competes with the cookie flavor.
- Gel food coloring (optional): Gel holds color better than liquid coloring and won't thin out your icing.
Tired of Takeout? 🥡
Get 10 meals you can make faster than delivery arrives. Seriously.
One email. No spam. Unsubscribe anytime.
Instructions
- Prepare your dry ingredients:
- Whisk together the flour, baking powder, salt, and finely ground freeze-dried strawberries in a medium bowl and set aside. This step ensures everything is evenly distributed before it meets the butter mixture.
- Cream the butter and sugar:
- Beat them together for about 2–3 minutes until the mixture is pale, fluffy, and noticeably lighter in color. This is where the magic happens—you're incorporating air that will make your cookies tender.
- Add the wet ingredients:
- Drop in the room-temperature egg, vanilla, and almond extract (if using), and mix until everything is fully combined. The dough should look smooth, not grainy.
- Bring it together:
- Gradually add the dry ingredients, mixing on low speed just until incorporated—overworking the dough makes cookies tough. If the dough seems dry, add milk one tablespoon at a time until it's soft but not sticky.
- Chill the dough:
- Divide the dough in half, flatten each into a disc, wrap tightly in plastic wrap, and refrigerate for at least one hour. This prevents the cookies from spreading too much in the oven.
- Get ready to bake:
- Preheat your oven to 350°F (175°C) and line your baking sheets with parchment paper to prevent sticking and ensure even browning.
- Roll and cut:
- On a lightly floured surface, gently roll one disc of dough to ¼-inch thickness. Use your heart-shaped cutter to cut out shapes, working quickly so the dough stays cool and doesn't get sticky.
- Space them out:
- Arrange cookies about 2 inches apart on the prepared baking sheets—they'll expand slightly as they bake, and you want room for that.
- Bake until golden:
- Bake for 8–10 minutes, watching carefully so the edges just turn golden but the centers stay soft. Remove them from the oven when they still look slightly underdone—they'll continue cooking on the hot pan.
- Cool completely:
- Let the cookies cool on the baking sheets for a minute or two, then transfer them to a wire rack. They must be completely cool before you ice them, or the icing will melt.
- Make the royal icing:
- In a clean bowl, beat the egg whites (or meringue powder and water) with lemon juice until frothy. Gradually add the sifted powdered sugar and vanilla, beating on low speed until the icing is smooth, glossy, and thick enough to hold peaks.
- Color if desired:
- Add gel food coloring a tiny bit at a time, stirring gently until you reach the shade you want. Remember that colors deepen slightly as the icing dries.
- Adjust the consistency:
- For flooding (covering large areas), thin the icing with a few drops of water at a time until it flows but doesn't spread on its own. For piping outlines or details, keep it thicker by adding more powdered sugar if needed.
- Decorate with intention:
- Use a piping bag fitted with a small tip to outline each cookie, then flood the interior with thinner icing if desired. Work with one or two cookies at a time so the icing stays manageable.
- Let it set:
- Allow the icing to dry completely—this takes 4–6 hours or overnight—before stacking or storing the cookies. The wait is worth it; properly set royal icing has that satisfying snap when you bite into it.
 Save
Save There's something almost sacred about giving homemade cookies to someone you care about, especially when they're decorated with care and intention. I've watched people's faces light up when they realize how soft these are, how the strawberry flavor is subtle and sophisticated, not artificial or overwhelming.
The Strawberry Question
When I first tried making these with fresh strawberries, the dough turned into a wet, impossible mess. That's when I discovered freeze-dried strawberries—they give you concentrated flavor without moisture, and they're ground so fine that they almost disappear into the dough while leaving behind this delicate pink color and subtle taste. If you want even more strawberry punch, add ½ tsp of strawberry extract to the dough, though I find the freeze-dried ones are enough.
Royal Icing Reality
I've made royal icing with raw egg whites and with meringue powder, and honestly, I now prefer meringue powder for peace of mind. It works exactly the same way, tastes exactly the same, and I don't have to worry about anyone getting sick. The icing should be thick enough to hold its shape but thin enough to spread if you need it to, and that balance changes depending on humidity and how long you've been beating it.
Storing, Sharing, and Savoring
These cookies stay fresh in an airtight container at room temperature for up to five days, though they rarely last that long in my house. The royal icing protects the cookie underneath, so they actually stay soft and fresh longer than undecorated sugar cookies would. Here's what I've learned about making these cookies a gift worth giving:
- Pack them in a pretty box with parchment paper between layers so the icing doesn't crack or smudge during transport.
- Make the cookies a day ahead so they're completely cool and the icing is fully set before you decorate; this removes the stress and lets you enjoy the decorating part.
- Don't worry about perfection—slight imperfections in your piping actually make these cookies feel more personal and handmade, which is the whole point.
 Save
Save Making cookies for someone you love is never wasted time, even when they don't turn out perfectly. These strawberry hearts, with their tender crumb and glossy icing, have a way of turning an ordinary kitchen moment into something memorable.
Recipe FAQs
- → What gives the strawberry flavor to the cookies?
Finely ground freeze-dried strawberries are mixed into the dough, providing a natural and concentrated fruit flavor without extra moisture.
- → How does chilling the dough affect the cookies?
Chilling allows the dough to firm up, making it easier to roll and cut clean shapes. It also helps the cookies maintain their shape during baking.
- → What is royal icing made from?
Royal icing is made by beating powdered sugar with egg whites or meringue powder and lemon juice to create a smooth, glossy finish that hardens upon drying.
- → Can I add flavor extracts to enhance taste?
Yes, almond or strawberry extract can be added to the dough for a subtle boost of flavor that complements the strawberries.
- → How should the decorated cookies be stored?
Store in an airtight container at room temperature to keep the cookies fresh and the icing intact for up to 5 days.