 Save
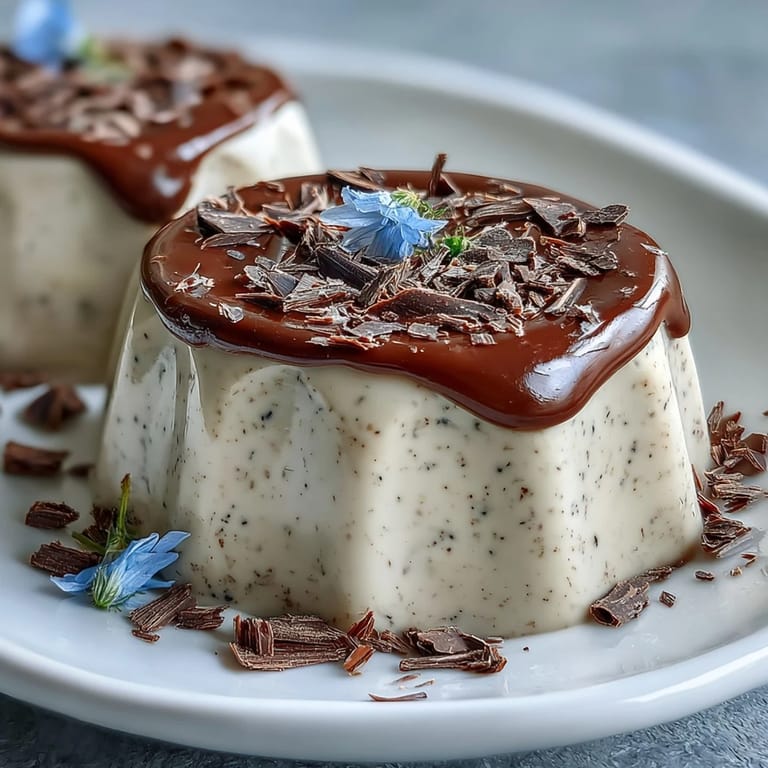
Save The first time I encountered hojicha panna cotta was at a tiny omakase counter in Kyoto, where the chef served it in a ceramic cup no larger than a sake vessel. That first spoonful stopped all conversation at our table—this impossibly silky custard carried the warm, toasty essence of roasted tea without any bitterness. I spent months trying to recreate that exact wobble and depth of flavor in my own kitchen, and now it's become my go-to dessert for dinner parties because it feels sophisticated yet requires almost no active cooking time.
Last winter, I served these at a small gathering after discovering my friend had never tried Japanese tea beyond matcha. Watching her eyes close as she tasted that first creamy spoonful, then immediately asking for the recipe, reminded me why I love sharing dishes that bridge cultures. The nutty, caramel-like notes of hojicha feel like being wrapped in a warm blanket even on the coldest nights.
Ingredients
- Heavy cream: This creates the luxurious mouthfeel that makes panna cotta feel so indulgent
- Whole milk: Balances the richness so the tea flavor can shine through beautifully
- Granulated sugar: Just enough to highlight the natural sweetness without masking the roasted notes
- Hojicha loose leaf tea: Look for deep brown leaves with a toasty aroma—this is where all the magic lives
- Powdered gelatin: Blooming it properly ensures that perfectly silky, jiggly texture we're after
- Cold water: Essential for activating the gelatin before it meets the hot cream
Tired of Takeout? 🥡
Get 10 meals you can make faster than delivery arrives. Seriously.
One email. No spam. Unsubscribe anytime.
Instructions
- Bloom the gelatin:
- Sprinkle the powder over cold water and let it sit until it absorbs all the liquid and becomes spongy
- Heat the dairy:
- Warm the cream, milk, and sugar together until steam rises and you see tiny bubbles at the edges
- Steep the tea:
- Remove from heat, add the hojicha, and let it work its magic for those crucial minutes
- Strain carefully:
- Pour through a fine-mesh sieve, pressing the leaves to extract every drop of flavor
- Dissolve the gelatin:
- Reheat just until warm, then whisk in the bloomed gelatin until it disappears completely
- Portion and chill:
- Divide among your serving vessels and let them cool before refrigerating for at least four hours
 Save
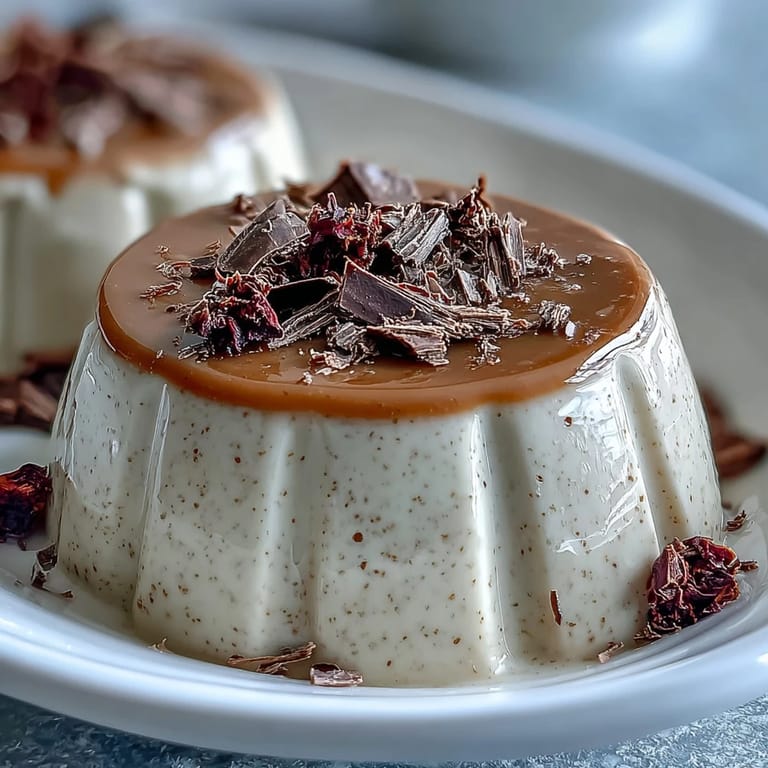
Save There's something meditative about unmolding these after they've set perfectly, watching them hold their shape while still trembling slightly. I've started making them for Sunday meal prep, and there's genuine comfort in knowing dessert is already handled for the week ahead.
Making It Your Own
After making this recipe dozens of times, I've learned that the quality of your hojicha absolutely matters more than anything else. I once tried a cheaper brand and the flavor was so muted that the dessert became just sweet cream instead of something special.
Serving Suggestions
The contrast of textures elevates this from simple custard to restaurant-quality dessert. I serve it in clear glass vessels so guests can see how perfectly it sets before they even take that first spoonful.
Timing and Storage
This dessert is incredibly forgiving, which is why it has earned a permanent place in my entertaining rotation. You can make it up to two days ahead and it will still taste fresh and maintain its beautiful texture.
- Always run your knife under hot water before unmolding for clean edges
- Let the panna cotta sit at room temperature for 10 minutes before serving
- These can be frozen for up to a month if wrapped tightly
 Save
Save Some desserts are about showmanship, but this one is about that quiet moment when everyone at the table falls silent after taking their first bite.
Recipe FAQs
- → What makes hojicha different from other Japanese teas?
Hojicha is roasted green tea leaves, which gives it a reddish-brown color and mellow, toasty flavor profile unlike the grassy notes of standard green tea. This roasting process reduces caffeine and creates earthy, caramel-like notes that pair beautifully with rich dairy desserts.
- → Can I make this dessert ahead of time?
Absolutely. This panna cotta actually improves after resting overnight in the refrigerator, as the hojicha flavor continues to infuse. Keep covered tightly with plastic wrap and garnish just before serving for the freshest presentation.
- → How do I know when the gelatin is fully bloomed?
Sprinkle the powdered gelatin over cold water and let it sit for 5 minutes. The mixture will absorb the liquid and become soft and spongy. There's no need to stir initially—just let it sit undisturbed until it resembles wet sand before adding to the warm cream.
- → What garnishes work best with hojicha flavors?
Light garnishes like whipped cream, shaved white chocolate, or toasted nuts complement the roasted tea notes. Edible flowers add visual appeal without overpowering the delicate hojicha flavor. Avoid strong citrus or spicy elements that might compete with the subtle earthiness.
- → Can I use tea bags instead of loose leaf hojicha?
Yes, though loose leaf typically provides better flavor extraction. Use three tea bags to equal two tablespoons of loose leaves. Steep for the full 7-8 minutes, pressing the bags gently against the sieve to extract maximum flavor before discarding.
- → Why shouldn't the cream boil when steeping the tea?
Boiling can scald the dairy and create an unpleasant taste. Heat just until steam rises and small bubbles form around the edges. This temperature is perfect for extracting the hojicha's roasted flavors without compromising the cream's smooth texture.